


24/7 Emergency Service
Located in Golden,Colorado
Commercial & Residential Lighting & Electrical Services
McBride Lighting & Electrical Services brings ideas to life—turning your vision into a finished reality. From wiring upgrades to custom lighting designs and energy-saving solutions, we help enhance comfort, style, and efficiency in homes and businesses.
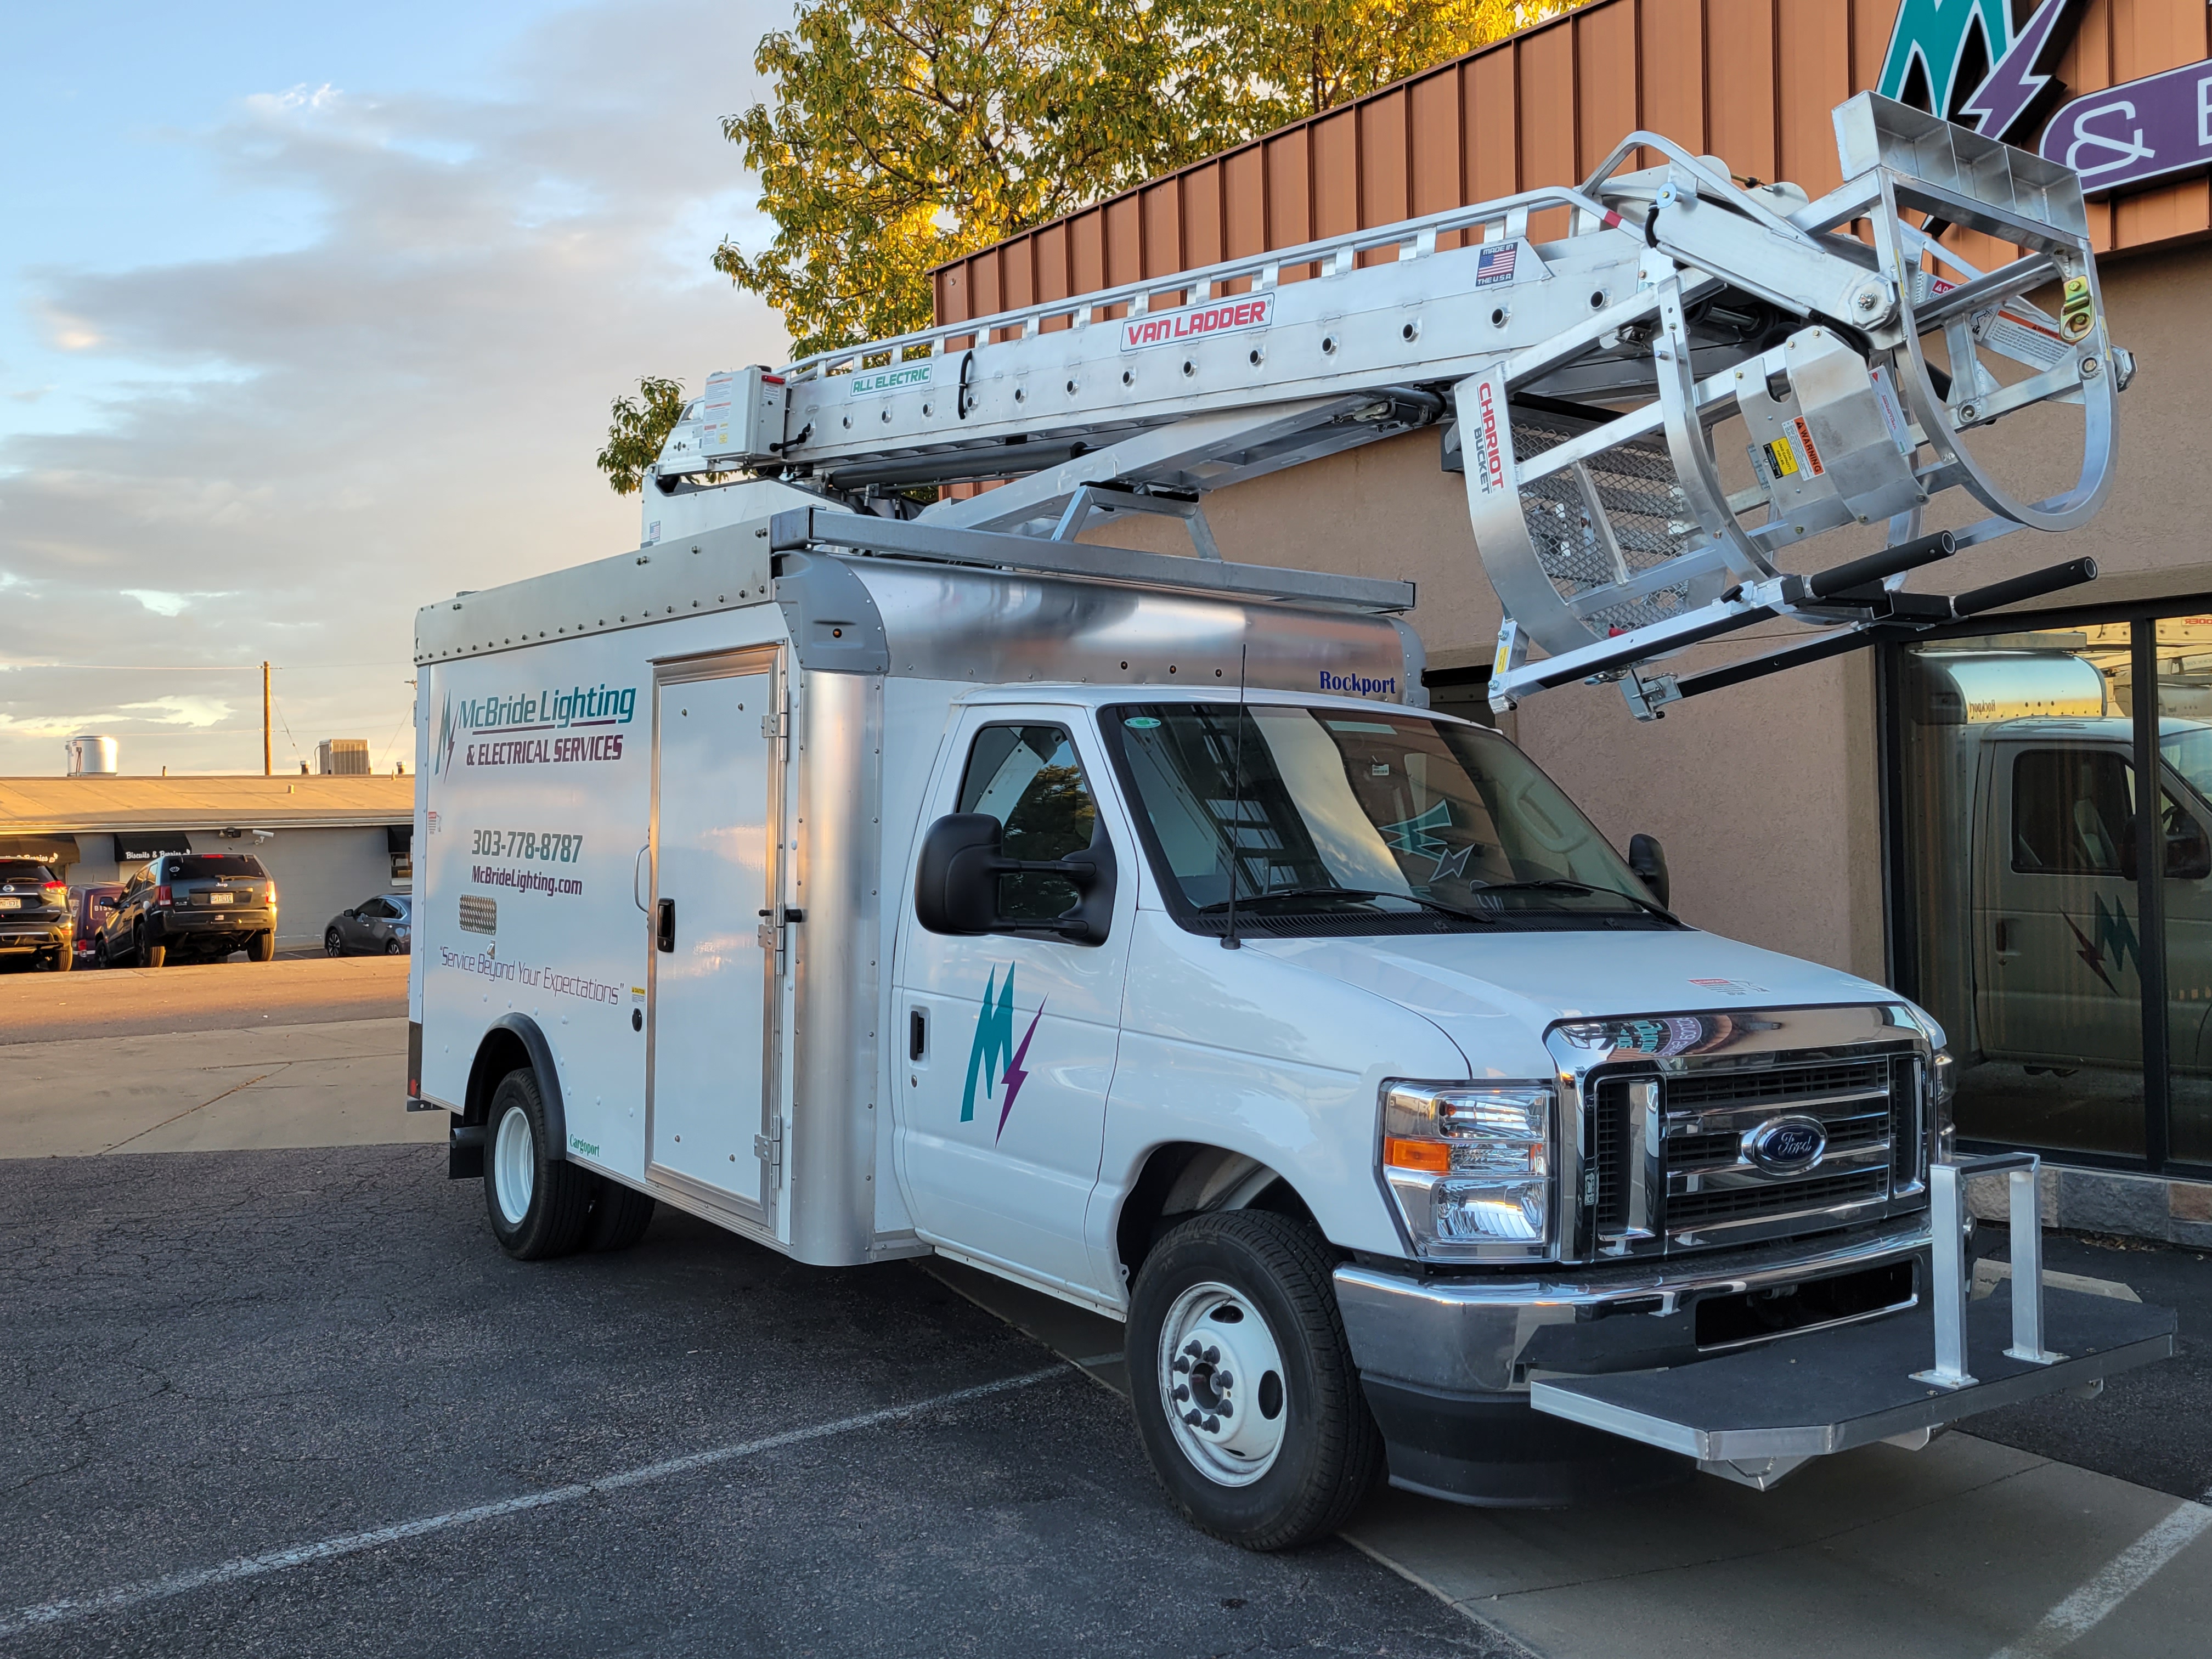
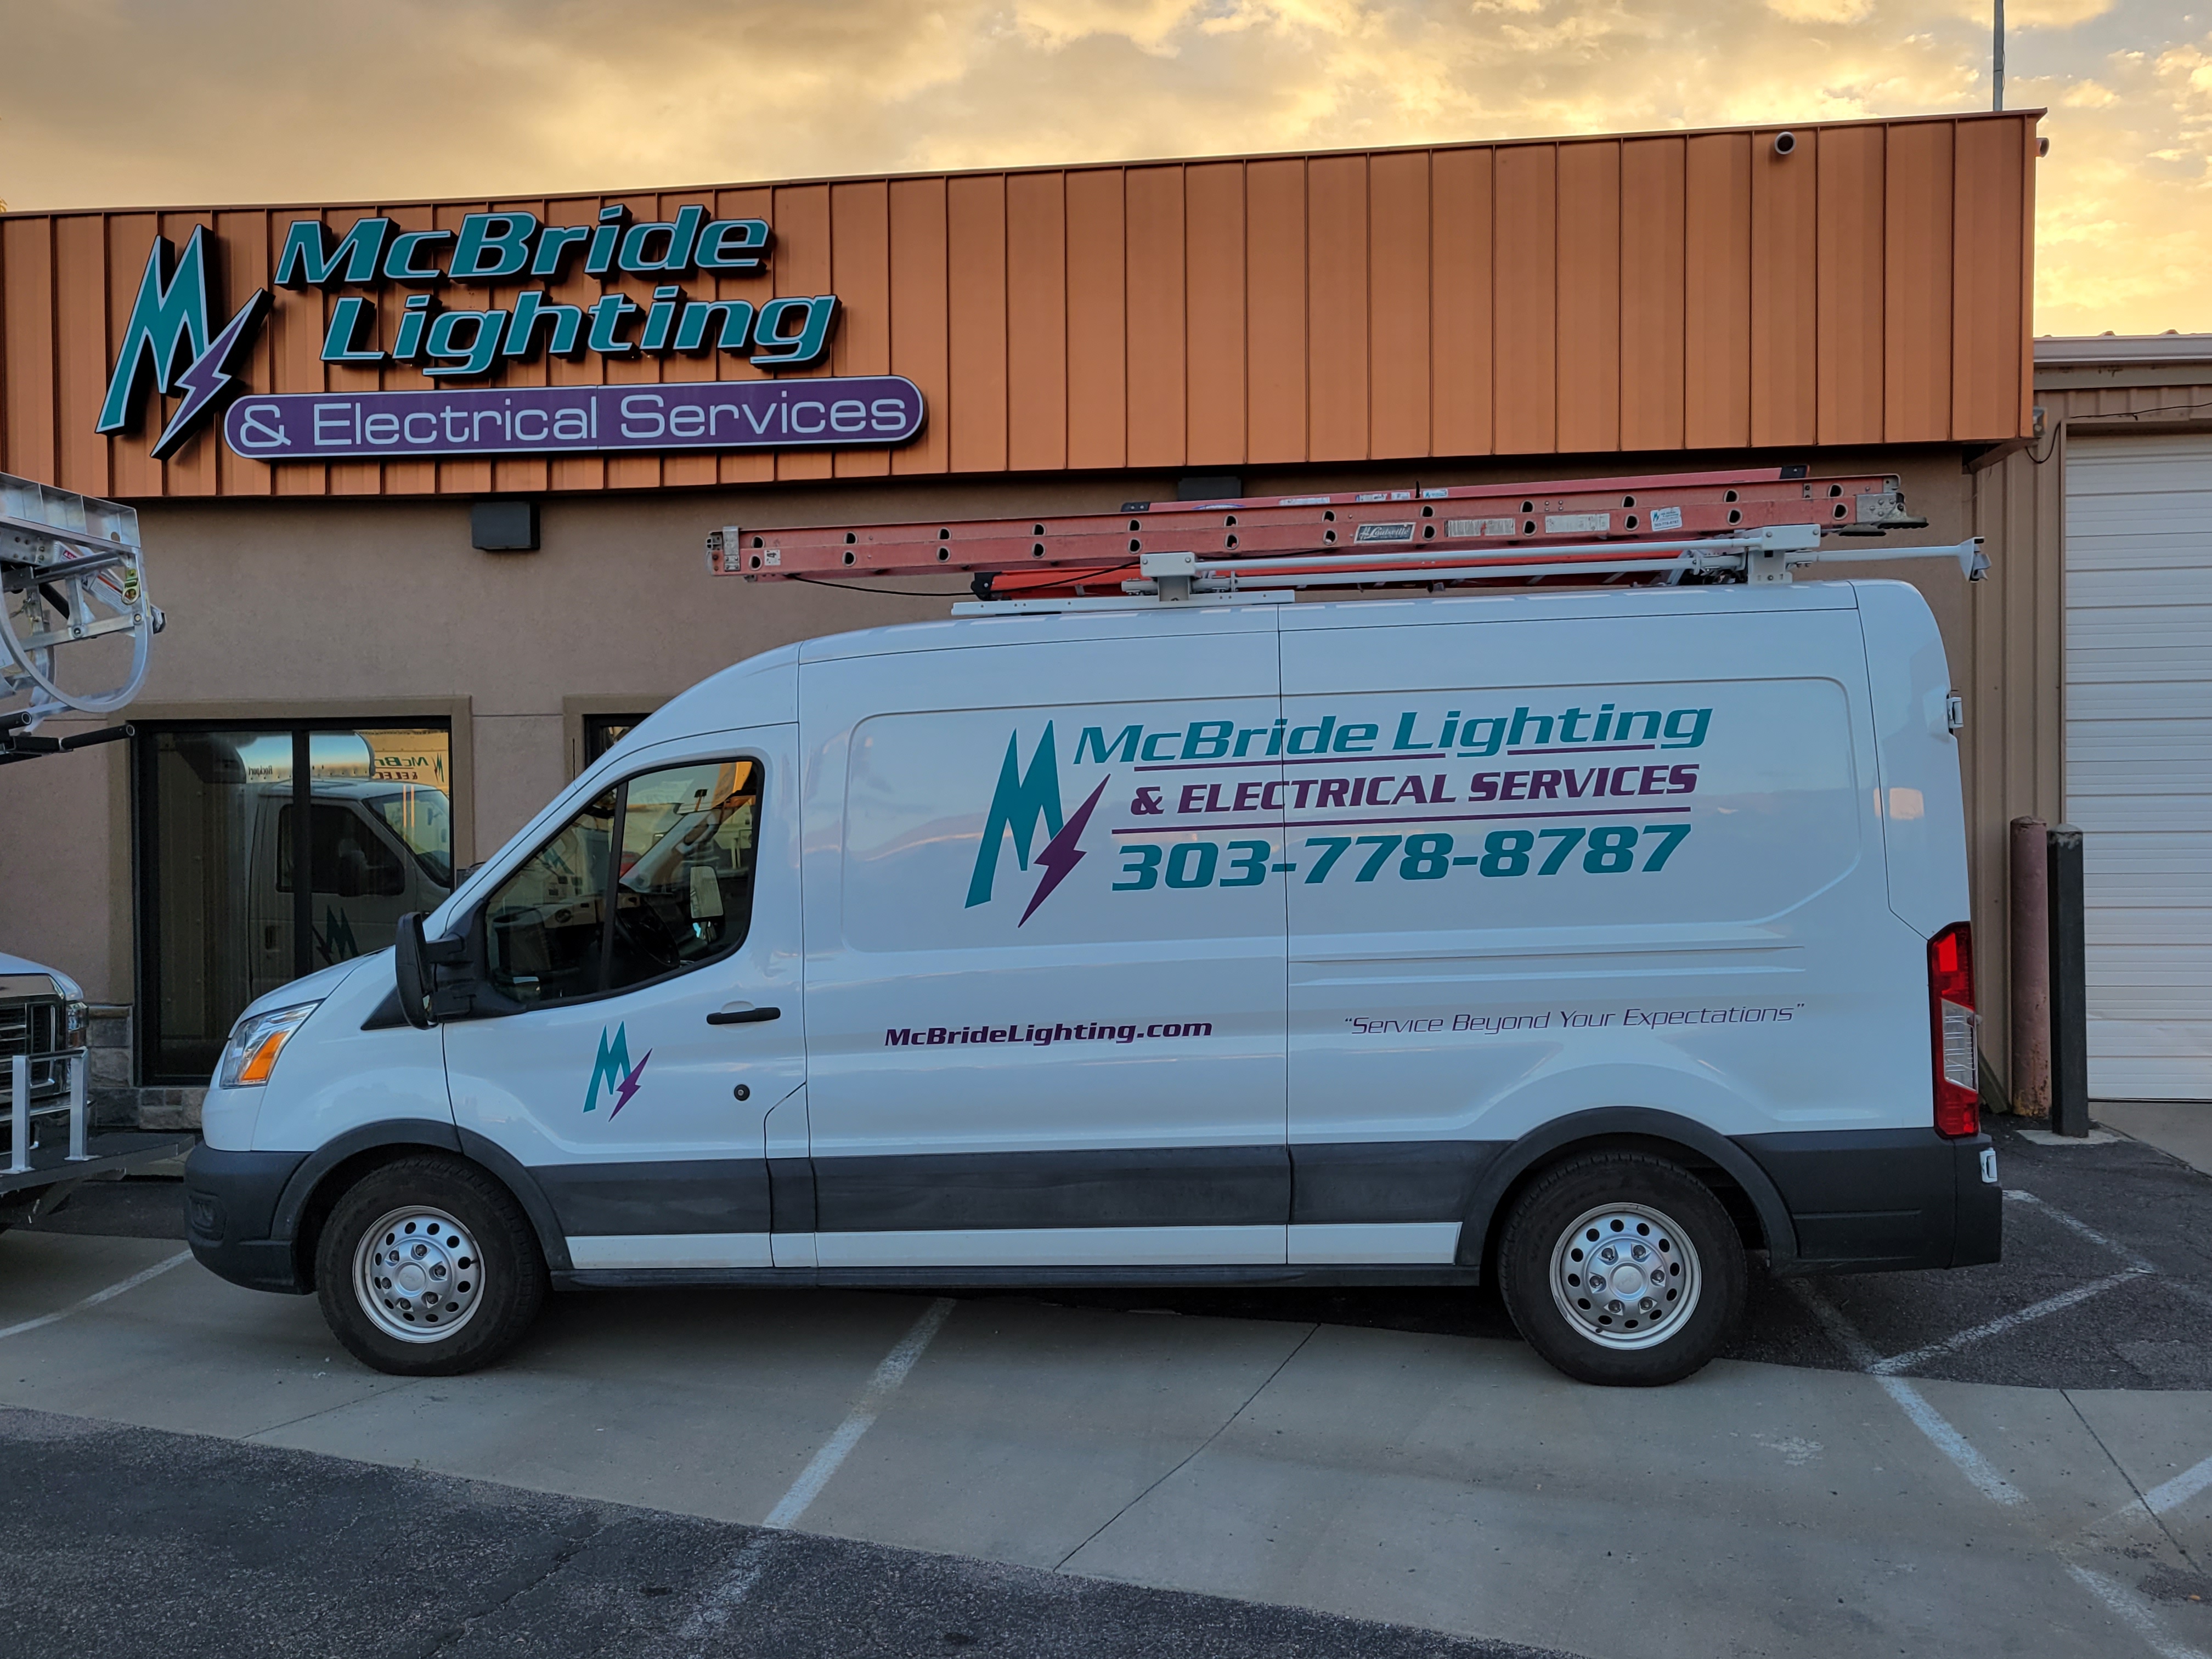
Powering the Colorado Front Range Community With Light and Safety Since 1956
WELCOME!
McBride Lighting & Electrical has been dedicated to brightening spaces and ensuring reliable electrical systems for our Colorado community, since the mid-50s. Whether it's installing fresh lighting or upgrading wiring and panels, our skilled team works to keep homes and businesses running smoothly and securely.
Reach out, we would love to speak with you about your lighting and electrical needs!
OUR SERVICES AT A GLANCE
Residential Services
Serving Colorado and the Front Range, we offer homeowners a complete range of electrical and lighting solutions designed to enhance daily living. From routine electrical care to creative lighting plans, our goal is to deliver safe, comfortable, and well-lit spaces that match your lifestyle while supporting energy efficiency.
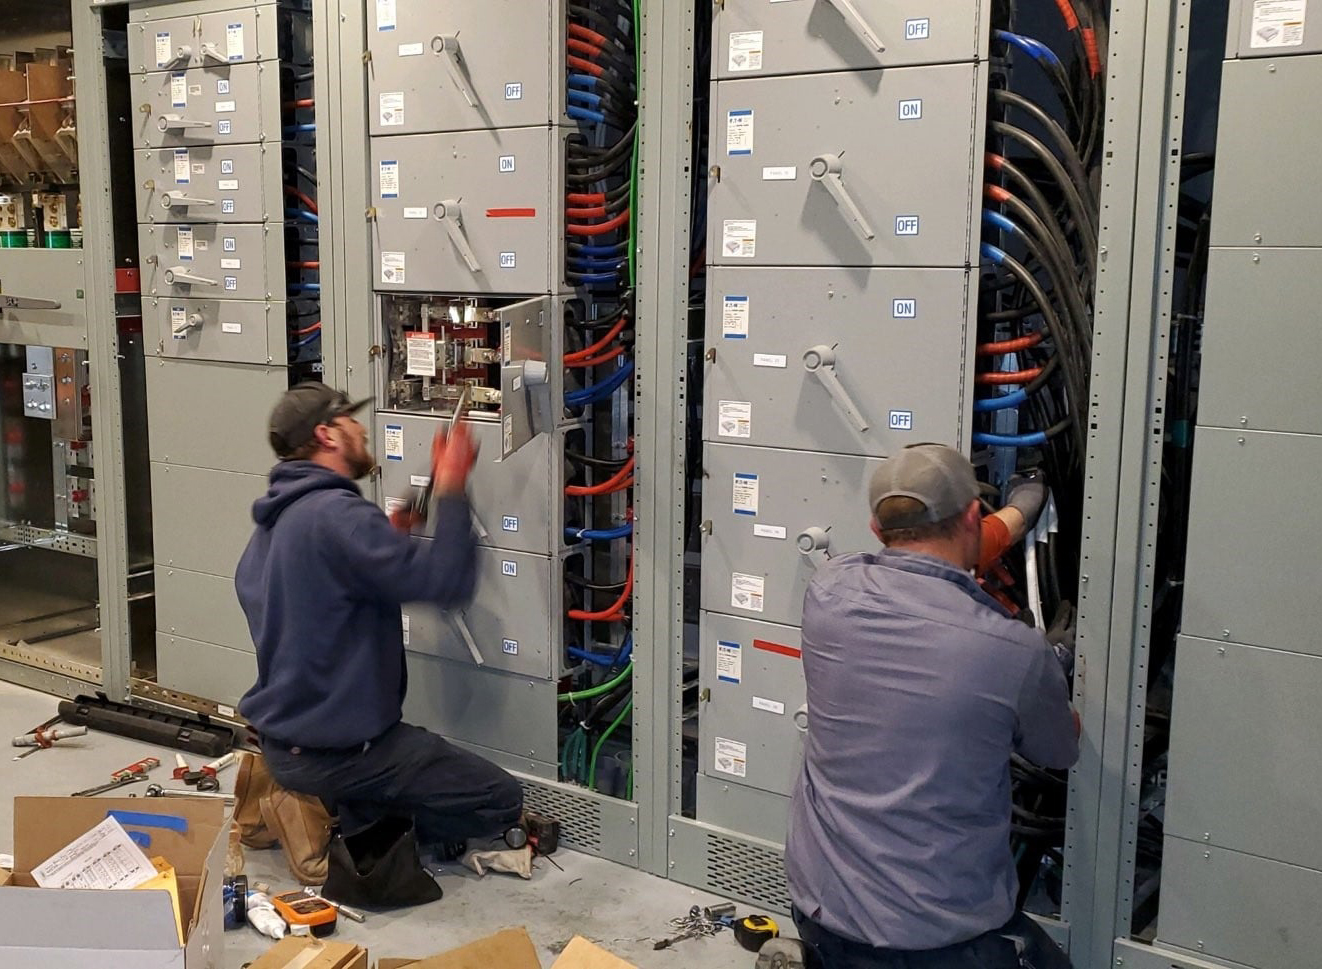
Commercial Services
Our commercial services combine expert electrical work with tailored lighting solutions to fit your business’s specific needs. We handle everything from installation and upkeep to system upgrades—helping you maintain safety, improve efficiency, and create a space that’s both functional and visually appealing for employees and customers alike.
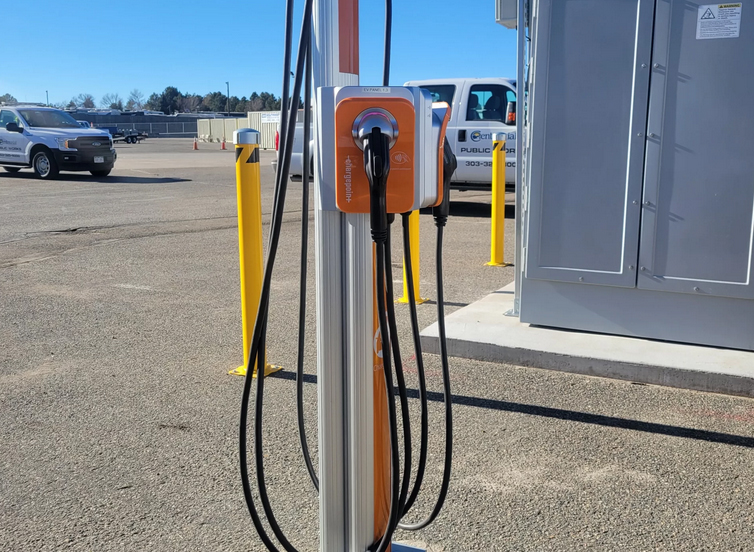
Commercial & Residential EV Chargers
If you’re thinking about adding an electric vehicle charging station, it’s important to have a licensed electrician—such as McBride Lighting & Electrical—conduct an electrical evaluation first. This helps us confirm your property can support a charger and identify the best metering setup and electricity rate for your needs. Once that’s determined, we’ll handle the full installation from start to finish.

Yes, We Install generators!
Area-wide power outages are becoming a more commonplace way of handling fire prevention. Don't be caught off guard when it happens!
We can install a generator to meet the needs of your home or business needs.


"Wow, they went above and beyond!! It was a curved narrow stairwell so it was a tight fit! They were amazing from the moment I contacted them and when they came to put it up! I would never use anyone but them! Brooke and his crew of Nick and Parker are top notch! See before and after’!"
"The entire McBride Lighting & Electrical Services team did a great job, from scoping and pricing the project to completing the work. McBride coordinated with a second company during the project on aspects of the work outside their responsibility so things would run smoothly. I would hire McBride again."
"I am a swimming pool contractor in Denver Colorado. I've been working with McBride on a very regular basis for at least the last dozen years. They are hands down the best electrical company we've ever worked with. Nothing but excellence from these guys. From the office to the field, they are professional, consistent, and courteous. Highly recommend!"
16026 West 5th Avenue, Golden Colorado 80401
Powering the Colorado Front Range Community With Light and Safety Since 1956
Copyright 2026. All Rights Reserved. Website by Streamlined Business Solutions, LLC
Powering the Colorado Front Range Community With Light and Safety Since 1956
Copyright 2026. All Rights Reserved. Website by Streamlined Business Solutions, LLC